Sep 博客站结构介绍
本文记录 Sep 个人站的结构以及在 github 仓库上的托管关系, 分离 [主站] 和 [博客站], 简化博客发布流程
站点仓库在 github 的托管结构
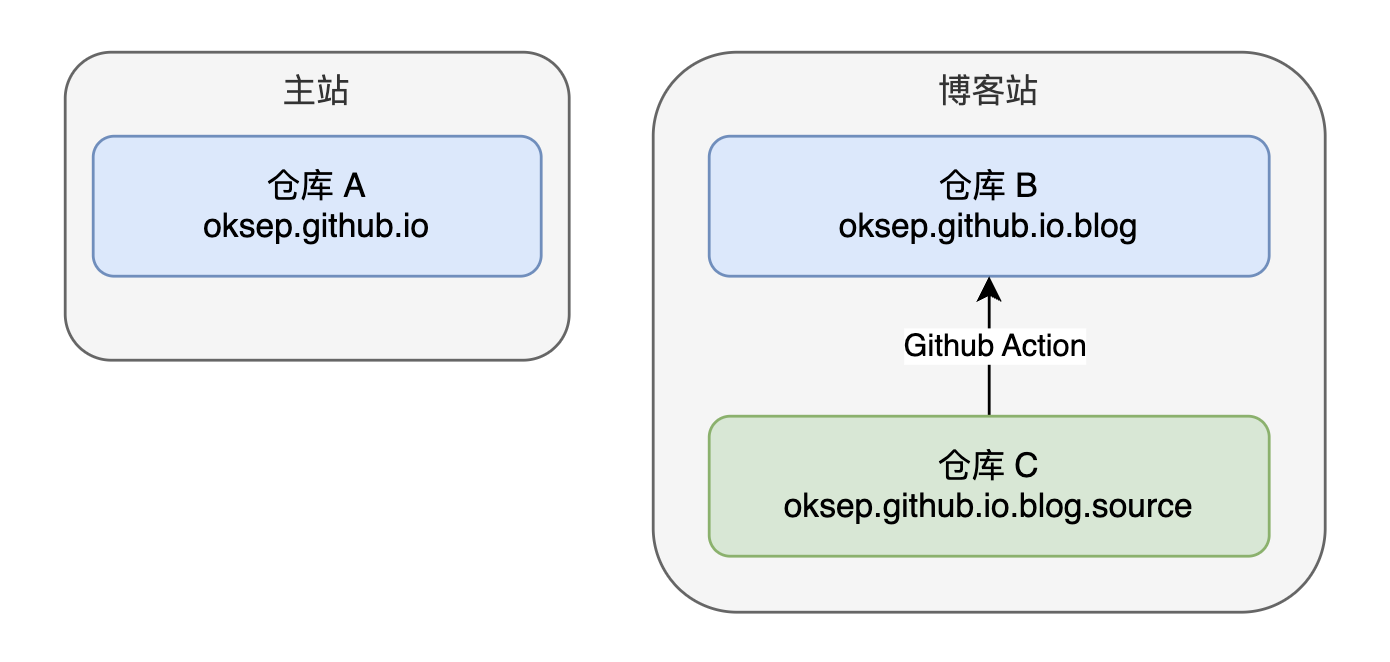
仓库A oksep.github.io
仓库A 服务于 https://septenary.cn, 是依赖 Github Pages 部署的独立站点, 与博客站没有任何依赖关系, 单纯的自定义 html 页面, 不受 hexo 限制, 在这里可以定制 首页特效/作品集/各子域名入口 等等
特效封装
页面效果用到了 坏番茄 提供的封装 WebGL-Fluid-Simulation 的特效:

Github Pages 配置
在仓库A 的设置中, 对 GitHub Pages 配置 域名, https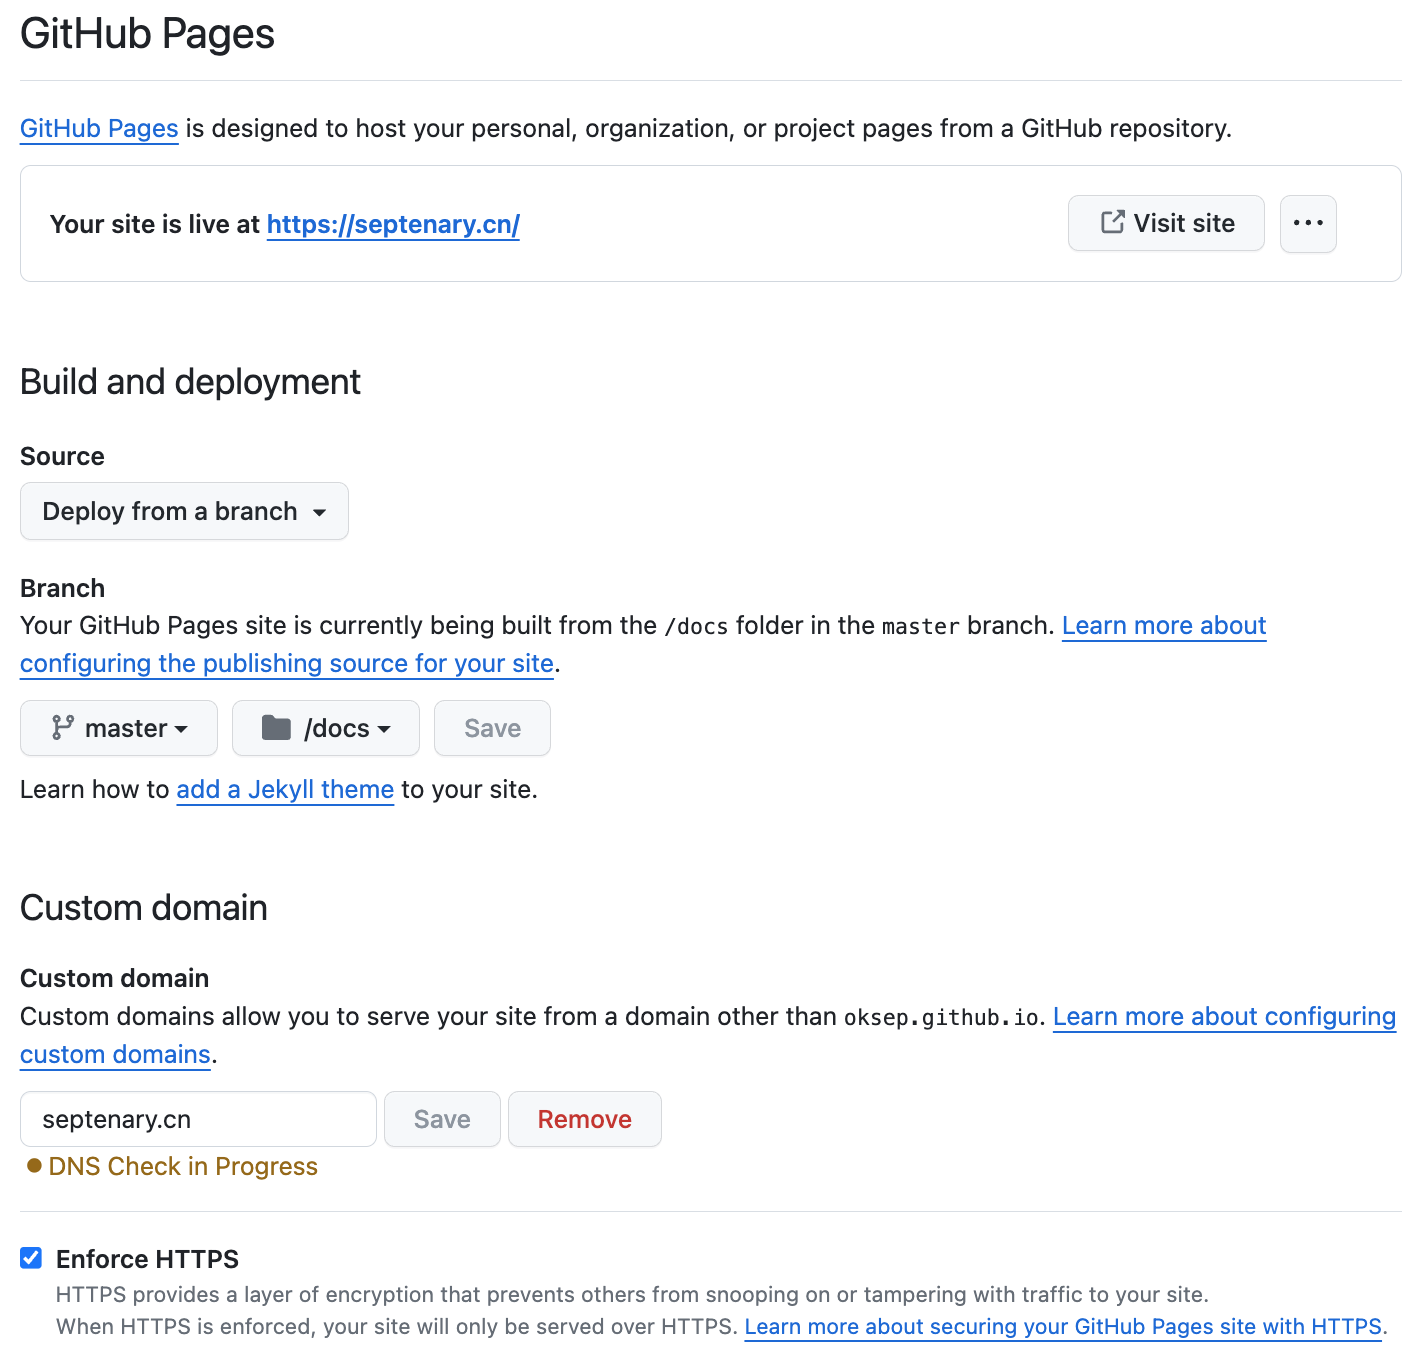
仓库B oksep.github.io.blog
仓库B 服务于子域名 https://blog.septenary.cn, 只包含 Hexo 生成的静态网页文件,这些文件都是由 仓库C 通过执行 Github Actions 自动推送到仓库的
Github Pages 配置
在仓库B 的设置中, 同样需要对 GitHub Pages 配置 域名, https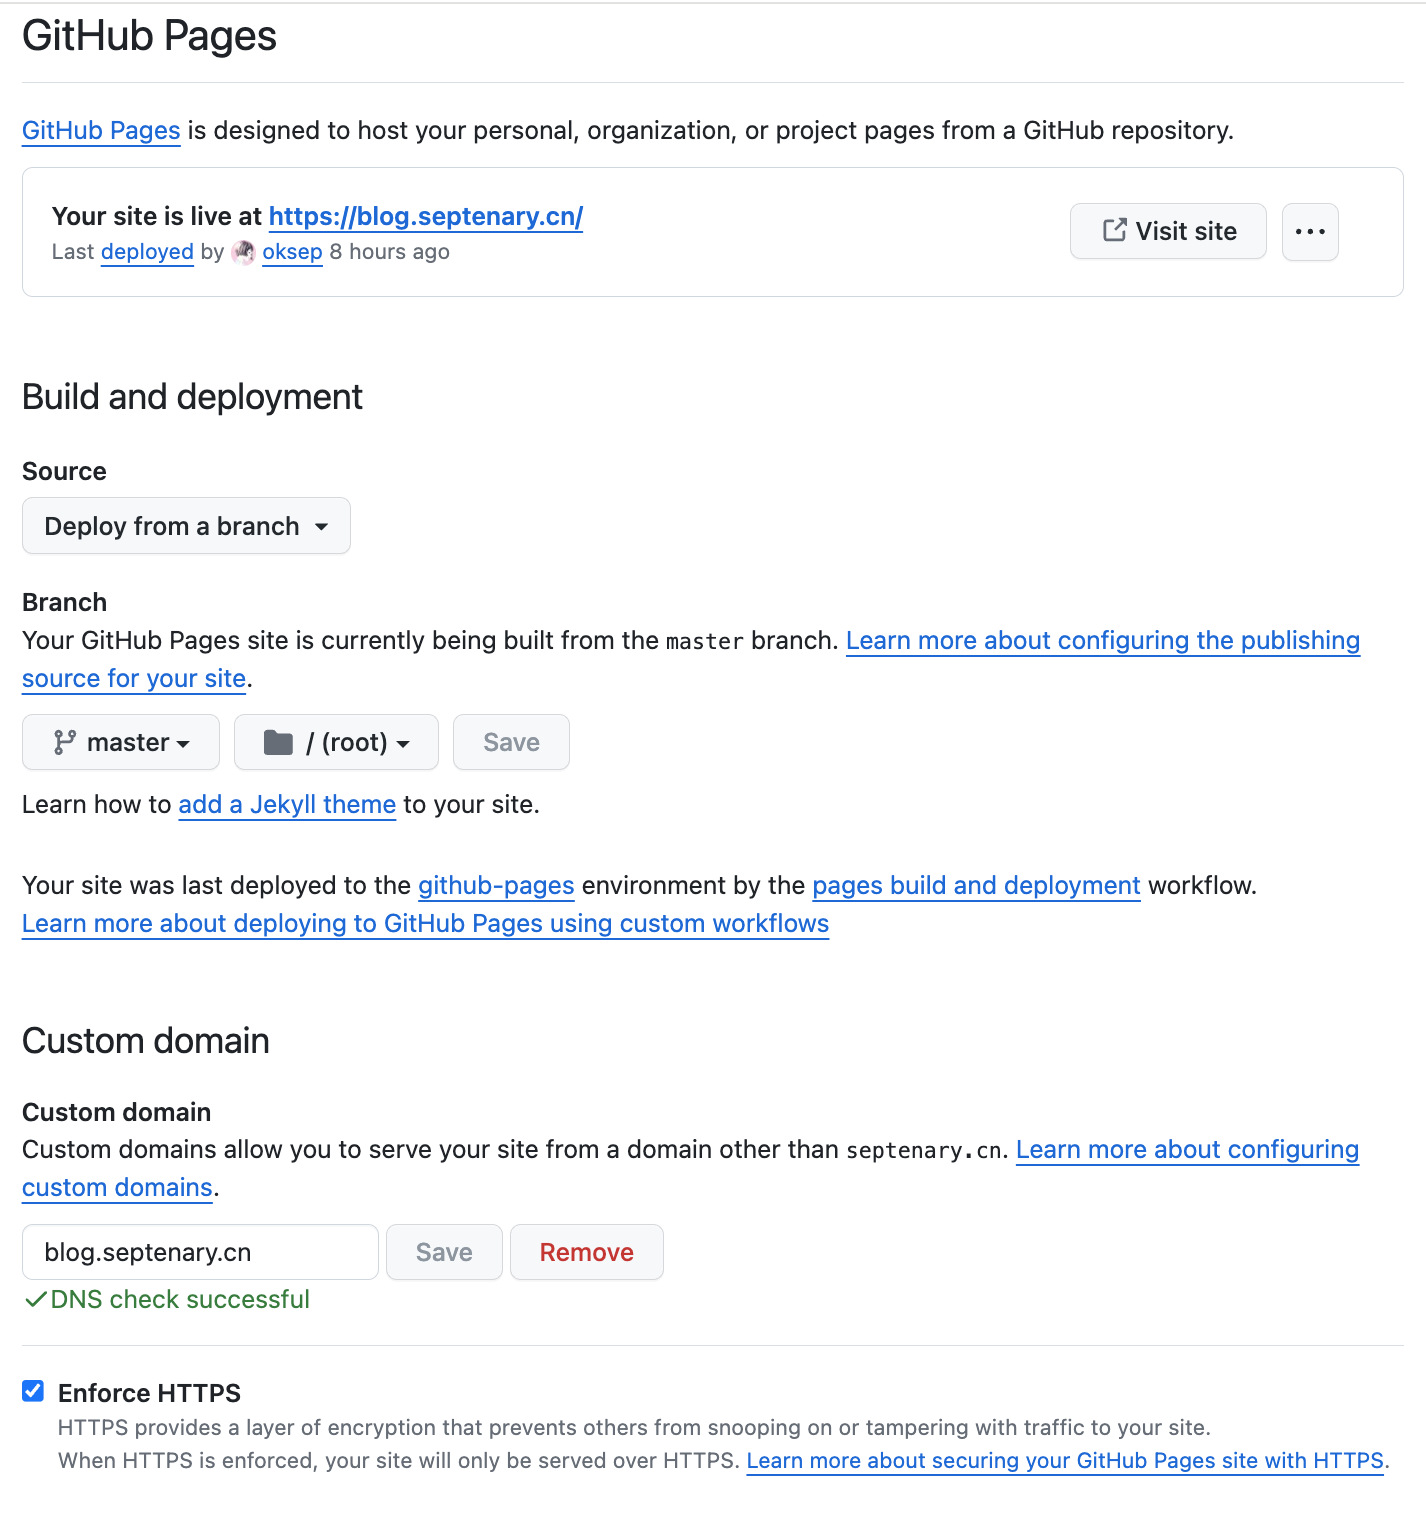
公钥配置
同时需要对 Deploy keys 配置公钥(在讲仓库C的时候会提到)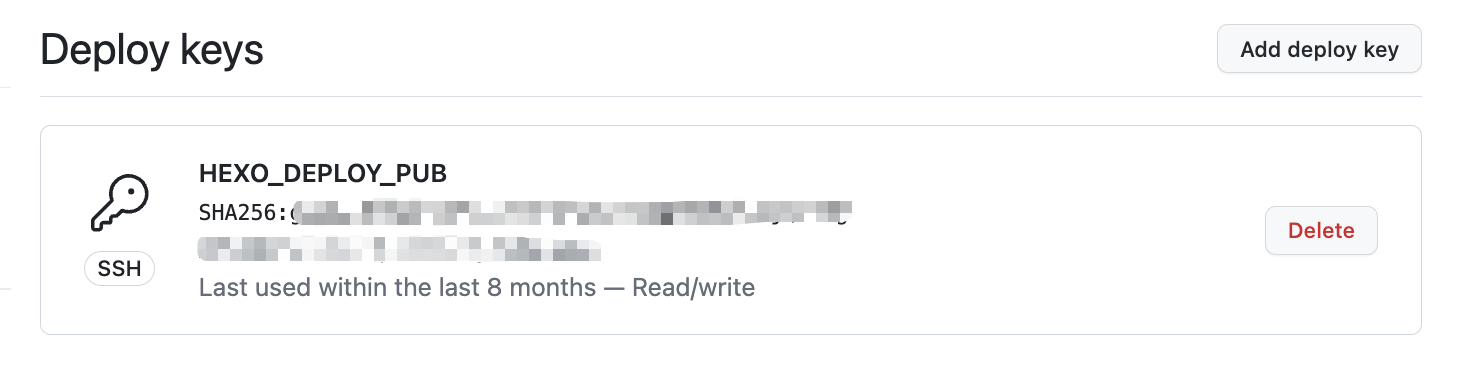
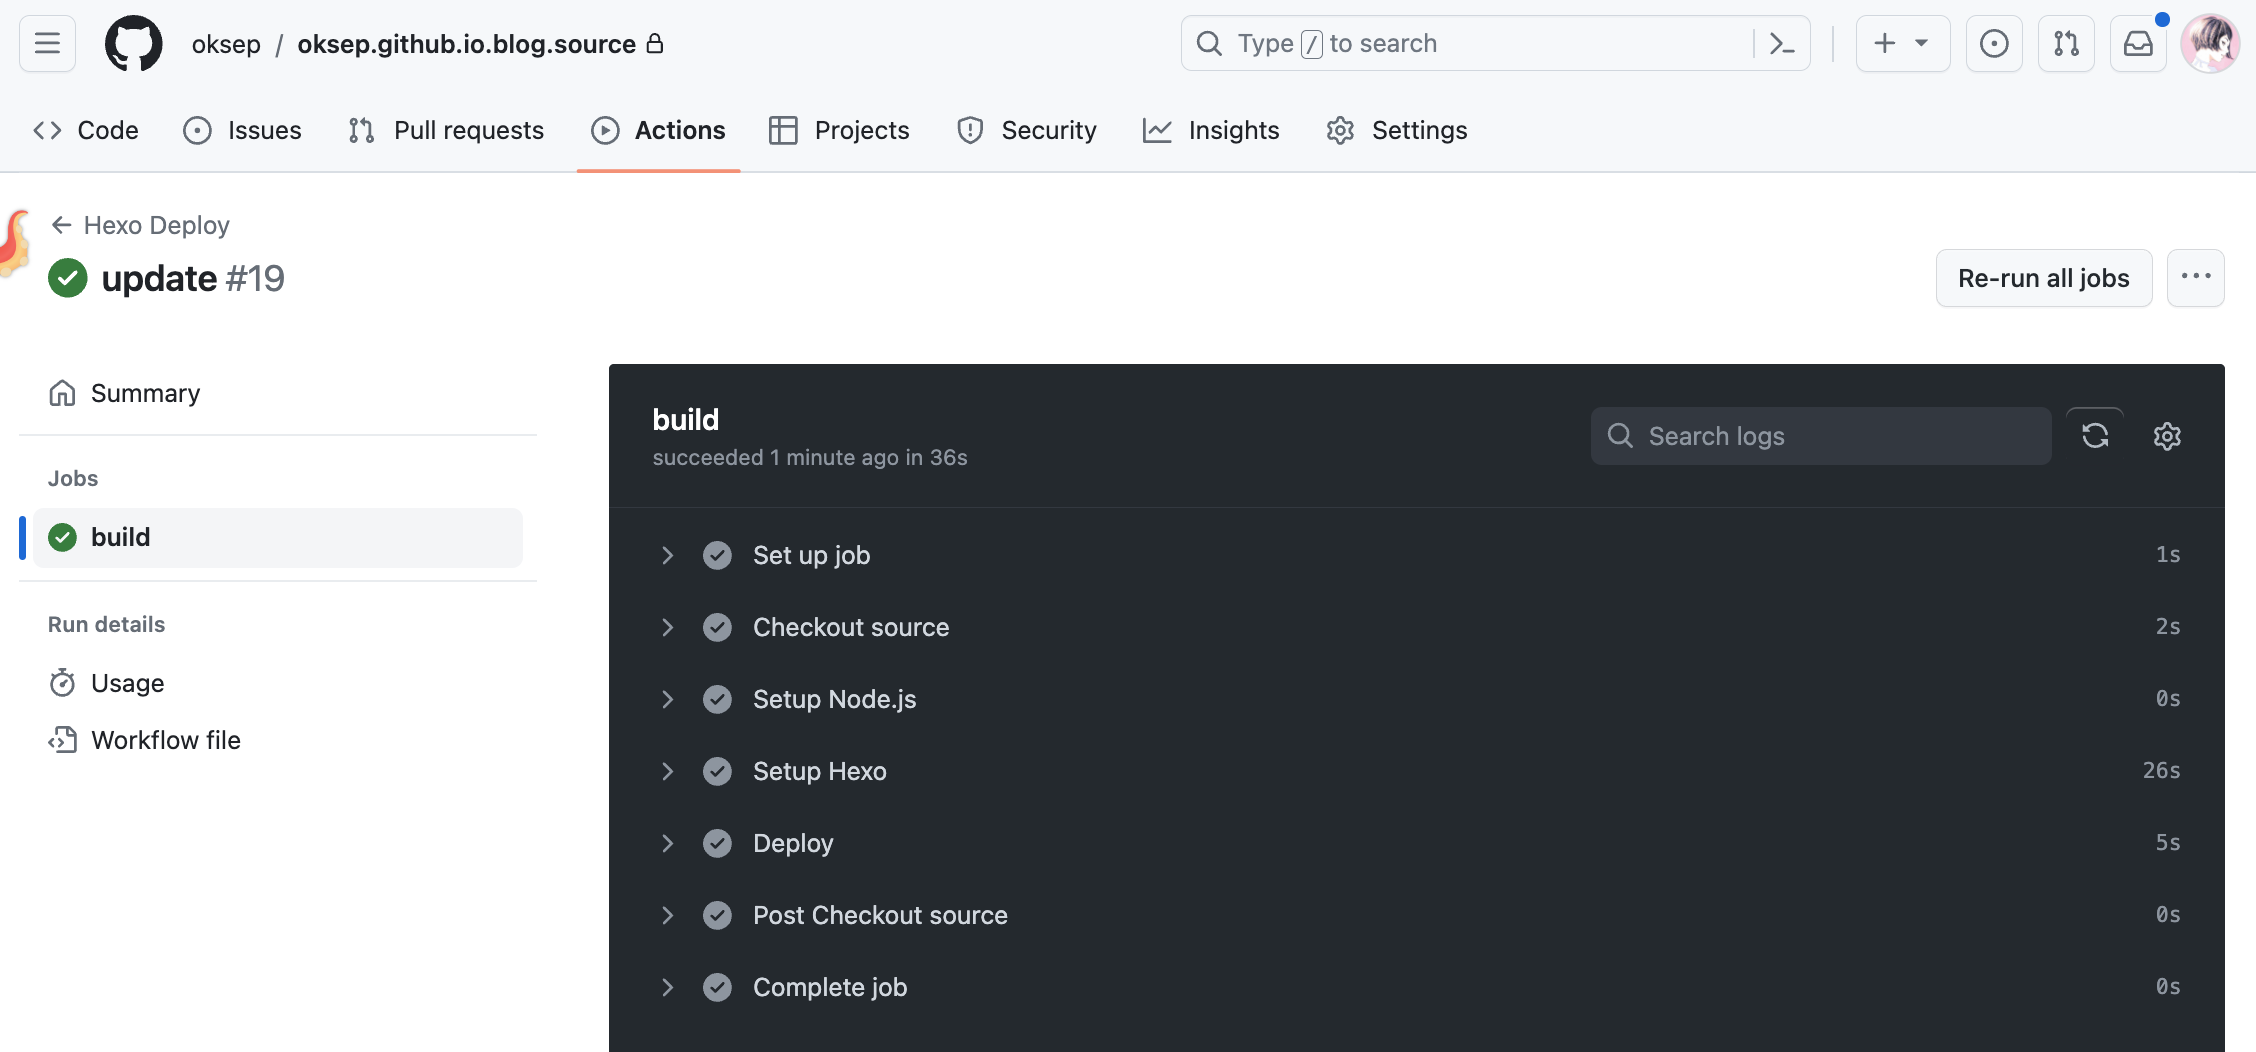
仓库C oksep.github.io.blog.source
仓库C 基于 Hexo 来编写 Markdown 文章, 配置个性化主题, 自动部署博客站点等
ssh-keygen 生成公私钥
1 | |
这里会得到两个文件:
- 私钥: github-deploy-key
- 公钥: github-deploy-key.pub
在仓库B中, 把公钥 github-deploy-key.pub 的值配置到 Deploy Keys 中(上文有提到)
配置 Github Actions
添加 .github/workflows/deploy.yml 文件,配置如下:
1 | |
配置 hexo 的 _config.yml
1 | |
至此, 每次编写文章将文件推送到 github master 分支后, 会自动执行配置好的 GitHub Actions 将文章发布上线